Tuesday 30 April 2013

Blue - Hels Sheridan Challenge

Blue Jays - ah, an album from my youth...Justin Hayward and John Lodge....  Anyway, Hels' challenge was BLUE.  Here is my entry...


It's made up of 'caught in crystal' acetate, folded card, and lots and lots of stamps!!

I started with the acetate.  This is done by sprinkling glitter (in my case, quite a lot of glitter) onto acetate, adding some alcohol inks, and then PVA glue.  Having done this a couple of times, I have learned that this takes a LOT of PVA, so I use the cheap stuff, and I also make sure that the final layer (tissue paper) is quite well pushed down into the glue.  Otherwise when it dries the tissue paper can hang off a bit.  This time, just to make sure, I dripped a bit more alcohol ink on the back of the tissue, where it looked like there wasn't much colour.  Then you leave it dry (and drip) overnight.  You aren't able to see how much glitter there is in there!


I cut down a 12x12 piece of card to 10x4 and then split that in half lengthways, leaving the final 2 inches uncut.  Then I valley and mountain folded each leg, so that I was left with a little pad measuring 2x2 and a half.


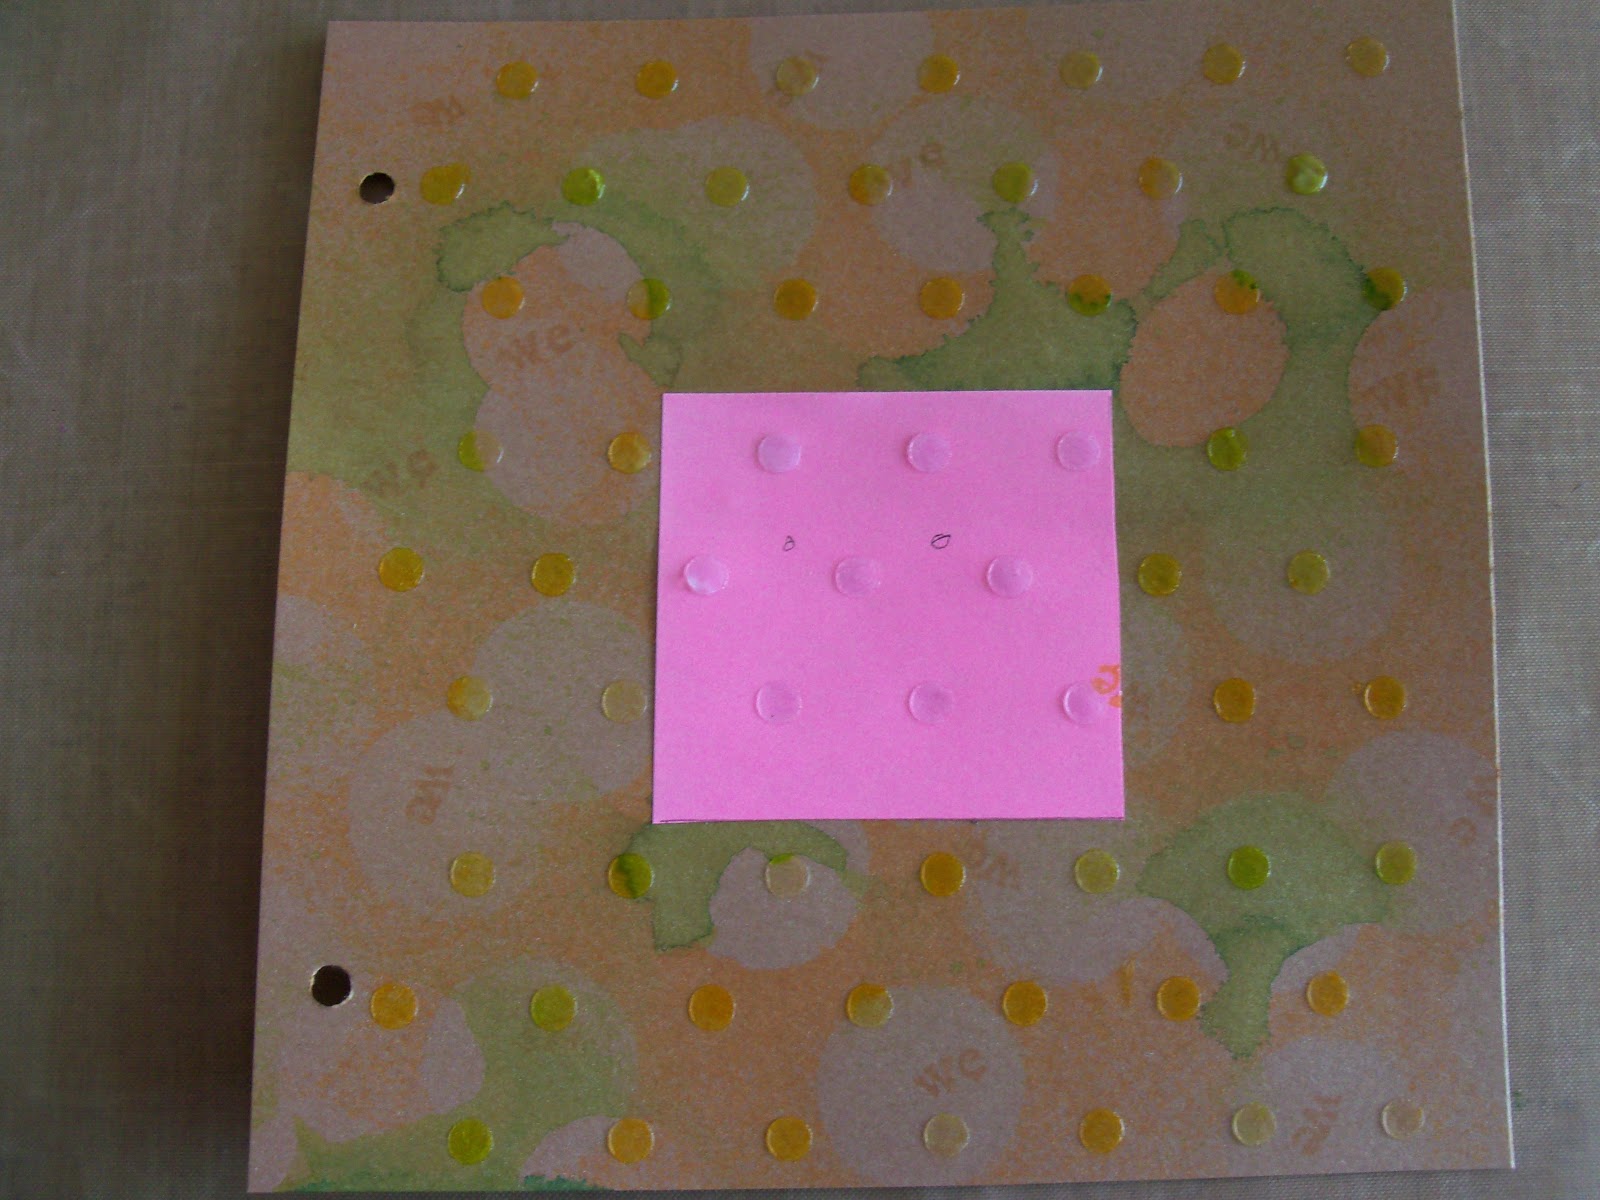
Then from good quality stamping card (not sure which one, I managed to use some of my offcuts) I cut a load of squares to fit (1 and three quarters).

Some of them have been stamped with distress ink, and then the ink pulled out with a water brush (a technique from Hels herself, thanks Hels!).

Others were stamped with Stazon or Brilliance - these were the sentiment squares.

Then, I glued two pieces of the acetate to the front and back of my origami, and used the Crop-o-dile to set in to eyelets in each.  Lovely blue ribbon to hold it all together.  Finally, I added 3 butterflies and a few teeny weeny rhinestones.

More blue than you could shake a stick at, I think!!


Materials

Ink
Adirondack alocohol inks - many and various!
Distress Inks - Faded Jeans, Chipped Sapphire, Peacock Feathers, Tumbled Glass, Salty Ocean, Stormy Sky
Brilliance - Sky Blue, Pearl Poppy, Galaxy Gold, Mediterranean Blue

Stamps
Stampers Anonymous - Mini Blueprints 3 (CMS150)
Stampers Anonymous Clear Artistry - Flights of Fancy, Urban Grunge, The Journey, unnamed
Martha Stewart STamp and punch - Butterfly

Bling and other stuff
Rhinestones
Art Glitter - Monchromatic Blue
American Craft - ribbon
Crop-o-dile and eyelets

Monday 29 April 2013

A is for... Craft Barn Challenge

A is for Architect and Architecture!  A good reason to get out a load of stamps I haven't used for ages.  Thank you, Craft Barn Challenge!

I took this on panoramic view, and it seems to have foreshortened the third image, so probably easiest to see each one in its own right.
 
I finally used the (old) sizzix accordion die (I really want the new one with the flippy bits!) to cut a couple of sections.  Each one has two pages, plus the tag to stick them together.


I stencilled each of the front pages with a different 'that special touch' mask, each relating to buildings in some way.   This first one, I was thinking of blueprints and graph paper. There's an Apse there, I think, and deffo, some Attitude!


The second one, well, back to my Latin A level (and S level - WHY??!) to get to the 5 types of columns from Greek and Roman Architecture, with a brickwork stencil.  The stamps were lightly coloured with water colour pencils.  Is that an Acanthus I see?
 

The third front page was stencilled with a cobble effect, and then stamped with that lovely church from Sheena. (Arches, and an Apse, I think!)Again, watercolour pencils to tint.


This is the back page (which you see when you turn to the A page in my challenge binder).  This didn't get stencilled.  I coloured the background with Distress inks, and the stamp was also inked up with Distress inks.  Ooh, look, an Arch!  The flower could be an Anemone, if I really squint!

As usual, the definitions are on the tag, which has the wooden letter coloured with Distress marker, and a great Azure blue ribbon to pull it up from the holder on the back.
 
 
Materials
 
Kanban Superior Stamping card
 
Inks
Distress Inks: Vintage Photo, Pumice Stone, Chipped Sapphire, Mowed Lawn, Mustard Seed
Stazon: Midnight Blue
Versafine: Onyx Black, Majestic Blue
 
Stamps
Stampers Anonymous - CMS107 Steampunk
PaperArtsy - HP1011 Courage
Sheena - SD-SS-ARC Ancient Arches
Elusive Images - UA4GW0145 - general architecture and map stuff!
 
Other stuff (wot?! no bling??)
Faber Castell Water colour pencils
That Special Touch masks


Friday 26 April 2013

Recipe stand

I've been getting steadily more irritated with myself for blu-taking useful recipes to the kitchen cupboard doors (and the fridge!!)...so I have finally done something about it!


The Recipe Stand is from Maya Road, and I found it at the Stamp Attic some time ago - thank you Wendy!  The 'before' photo is a bit difficult to make out, but the 'kit' came as an acrylic stand (think outsize Toblerone - I often dream about outsize Toblerones!!), with 9 chipboard shaped pages and 3 rings.

The only decision to be be made really is what papers to use.  I came across some lovely papers I had from ages ago from We R Memory Keepers, the White Out collection.  I can see why I bought them, really great spring type colours, but with some white grungy/distress areas.  And I still have a load left, even after covering all my pages!!


I added 1 extra piece to the kit to make it easier to flick it all back to the front.

Having got the pages all covered, I have cleared my fridge and cupboard door of recipes (still got some concert tickets up there tho!  Good memories from those - mmmm Justin Currie!).  So if you need a recipe for Saffron bread, or Rhubarb Champagne (like Elderflower Champagne, only rhubarb!!) let me know!!

Think I may just go and put some saffron bread on now...


Couple of learnings - note to self, that sort of thing...

Remember to crop-o-dile the pages for EACH side - trying to find the holes to re-punch is not easy when both sides are covered!!
Measure twice, cut once... a couple of the pages needed just a little edging to cover up a little bit of blank chipboard!
Keep a really DARK black pen on a string next to it, for any comments/additions/notes.

Materials:
Substrate: Maya Road Acrylic Recipe stand

Papers: WRMK White Out

Inks and Stamps
Stampin' Up - Alphabet, Rose Red, Bravo Burgundy

Glue - Cosmic Shimmer dries clear (and lots of it!!)

Flowers are miracles - EWV MAC#9

Hello all

The challenge for the Everthing Wendy Vecchi group this time was to stamp through a stencil.  Oh dear.  Not hugely successful, I think becaue the stencil I used was fairly thick (so the stamp couldn't really get to the tag underneath).  However, still like the effect!


So, I started with a standard tag from my stash, coloured using the wet wrinkle free distress technique (inclucing Picket Fence Distress stain - I do love Picket Fence).  Then I put my stencil down and used that lovely tranlucent stencil paste again.  When it had dried, and gone translucent, showing the colours underneath, I laid the stencil down again, and stamped, making sure I got some of the stamp on the unembossed part of the tag.

I took an art part and coloured with Distress marker (Picket Fence again!) to lighten up the piece.  Then coloured it with more Distress markers.  Finally, I coloured the stamp up with another Distress marker - wanna guess which one..?  Oh yes!  Picket Fence again!! Thought I'd got it wrong, but as it dried, it really did show through.  Pleased with that.

Coloured up the ribbons with Distress Stains and Cosmic Shimmers to match, and tied a bow.  Yes, I think I am pleased.


Materials used:

Ink
Distress Stains: Bundled sage, Peacock feathers, Picket fence
Distress Markers: Picket fence, Tumbled glass, Peeled paint
Archival Ink: French ultramarine, Cobalt

Stamps
Studio 490 by Wendy Vecchi - Art gone postal (LCS051), Material Art (LCS076), Sentimental Art (LCS064)


Bling and other stuff
Cosmic Shimmer spray: Pearl, Astral Mystery
Art Part flower
That Special Touch - Honeycomb stencil
Dreamweaver - Translucent embossing paste

Tuesday 23 April 2013

Paper Sun - Hels' Sunday Stamper Challenge

Hels' Challenge this week inspired me (last week's is on the shelf not looking happy at all...) - not only do I love Steve Winwood, the tutorial on Paper Blocking spoke to me, too.  I've not been great at keeping my offcuts, but I will now!!


So, Paper Sun - the Sun is the only bit that ISN'T paper, but this is what we have...

I started with one of the Stamps Away Medium tags, which are pretty solid, and don't seem to mind not being sealed before starting off.  I covered the tag with bits of paper cut from a few 6X6 sheets. 


When covered, I mixed Americana paints and brushed a wash over the lot.  With hindsight, the wash could have been a bit thinner, but hey-ho!  Then I sealed it, and created the shadows around the central blocks.  Hels suggests her magic pencil - couldn't find my pencil sharpener, so adapted, and used a black watercolour pencil, and I'm pleased with this, which means if I want to go away from black as a shadow, I can!  Whooppee!

Then I created a mask for the sun, and scraped a dollop of stencil paste into the hole, leaving it pretty textured.  When it got a bit of a skin, I dripped a little Dylusions on to the paste, to give it a sunshine colour. I also used my watercolour pencil to create a bit of a corona around the sun.  I have  afeeling that it will be a lot more transparent tomorrow, when it is fully dry.  But you can see that the blocking underneath is already visible.

Then Stamping!  All stamps on this are from Lavinia, which I have been ignoring recently, and I'm not sure why!  Believe was stamped on a piece of card and embossed with some glittery embossing powder, then the card ripped and edged with embossing ink, and the same powder added and heated.  I swooshed the card through some spritzed Distress ink, when it had cooled a little, and set it aside to dry.  Then it got set on foam pads to give some dimension, as well as taking it off the page.


The ribbons were coloured in the same way (with the addition of some Cosmic Shimmer mica spray - otherwise where would the bling be???!), and I used the same DI to edge around the tag, after I'd done all my stamping, just to give it some definition.

As a first attempt at paper blocking, I'm quite pleased.  I guess my learnings are (spot the tutor!!):
  • don't cut the paper too regularly - my widths were all a bit samey
  • think about the stamp and its placement - not easy to stamp if you have several layers (might be easier with a rockablock, maybe?)
  • Use more varieties of paper
  • Put the spatula in water, when you've finished (doh!!)
Materials

Substrate
Stamps Away - medium tag

Odds of paper
Lavinia stamps - there aren't any names on them, but: Unicorn, Allium, Foxglove, Vine, and Beleive

Inks and Paints
DecoArt Americana - Indian Turquoise, Light Buttermilk
Dylusions - Pure Sunshine
Archival Ink - Cobalt
Adirondack - Eggplant, Denim, Purple Twilight
Distress Ink - Salty Ocean, Tumbled Glass, Chipped Sapphire

Bling and other stuff
Dreamweaver - Embossing paste Translucent
Glue n'Seal
Cosmic Shimmer - Vintage Mist Astral Mystery
Faber-Castell - colour grip watercolour pencils
Stampendous - Stamp-n-stuff embossing powder - Golden Ocean (blue powder with gold glitter, oooo lovely!)

Monday 22 April 2013

Contrary is my middle name - IndigoBlu Challenge

Busy today!  Second post of the day!  Here is my entry for the 'Flowers' challenge set by the IndigoBlu team.

There's a wealth of choice of flower stamps with IndigoBlu.  I refrained from using the beautiful Poppy stamp - mainly because I don't have it!!  (It's on my 'to get' list)  So I went with the lovely clematis/rose stamps from 'Live Laugh Love' and Mary Mary from 'Nursery Rhymes 1'.


What doesn't come out on the photos is the mica shiny bling in the flowers, painted with Cosmic Shimmers watercolour paints - mmmmm.  Also in the swirls, which were stamped with pearlescent Brilliance inks.  Again, mmmmm.


I think the holographic flowers on the mat do come out!


Enjoy!


Materials

Ink
Brilliance - Starlite silver, Pearlescent sky blue, Mediterranean blue
Versafine - Onyx black, Majestic blue
Stazon - Jet black

Stamps
IndigoBlu - Nursery Rhymes 1, Alice 2, Wild Meadow, Live Laugh Love

Bling etc
Cosmic Shimmer - load of watercolour paints, various colours!
Stampendous - Detail gold embossing powder
Postits (for masking)
Spellbinders - Labels 1 and Labels 1 Grand

All That Jazz - Graphic 45 book

Well, I've done it - I have finally cut into one of my lovely Graphic45 pads!  Curtain Call is the one I have used, which is monochromatic, and all about the 20s, plenty of jazz and cinema references.

I had a lovely chipboard album in my stash.  The front covers are diecut with a lovely pattern, which made me think Art Deco (or is it Art Nouveau) doors into a club.  As each set page opens from the middle, this became a bit of a logic problem to make the scenes match up, as you walked through!

I'm going to let the pictures do the talking for this post, and finish off with the materials list at the end, as there aren't too many techniques involved, just the lovely papers, and matching stamps.


  Front Cover, lying flat.  Once the front doors were painted, I added a distressed look with silver holographic foil

  First set of pages - the Flappers.  I used holographic foil tape and a quickie glue pen to give the ladies some bling - pearls and stocking tops!

  Second set of pages - Jazz greats  The jazz orchestra tag has been covered in Glossy Accents.
 

  Third set - inside back cover - Cinema sweethearts - just little touches of the holographic foil again, with sakura pen, here and there.

  Back cover
Extra embellishments - loads of ribbons from stash, and some black shrink plastic, with the stamps stamped in gold Brilliance.  Remember to punch the holes before shrinking!!
 
So, is this it?  Have I now broken the OCD thing?  Will I be able to use more paper - rather than just buying it for stroking?  Confused?  Whatever happened to Soap?  Hope they repeat that, like they have with Cheers!!  Anyway, have a great day.  Feel free to leave a comment, and do pop back to see what else is happening in my crafty world!

Materials

Ink and Paint
DecoArt Americana - Buttermik
Brilliance - Galaxy Gold
Distress Ink - Black soot, Vintage photo

Paper and Stamps
Graphic45 - Curtain Call
HamptonArt/Graphic45 - All that Jazz

Other stuff - including bling!
Glue - Cosmic Shimmer dries clear, Red line tape, quickie glue pen, Zig two way glue pen, Foam sticky pads
Holographic foil tape (no idea where this came from but, oooooh, it is lovely!!!)
Ribbons (mainly re-purposed from Trollbeads boxes, another addiction...)
Shrinkart - black Shrinkles
silver chain from stash
Glossy Accents
Sakura Gelly roll pen - No idea what colour it is called really, I call it 'snail trail', clear with glitter only
Silver mirri card


Thursday 18 April 2013

W is for... Craft Barn Challenge

Well, I may be trying to catch up, but I still have to maintain the pace with the new challenges, so here is this fortnight's Craft Barn challenge, W - with the added requirement of circles in the background.  As I'd been toying with the challenge set for the Everything Wendy Vecchi group too, I'm sort of hitting two birds with one stone, except that I know I'm not really fulfilling the EWV brief - I'll explain later!


So W is for WE.  I decided on this because of the circles, really.  Idly doodling circles, I got to wedding rings (- that will cause a stir for people who know me!!) and then a lovely stamped sentiment from ClarityStamps 'Together we can handle anything' jumped into my head, which just sort of clicked.

So... started with my standard 6x6 pearlescent bronze card.  I punched out a whole load of circles from copy paper, and just laid them on randomly, to act as a mask. I spritzed dylusions in that lovely orange over them, and let that dry.  Then I laid on the circles differently, and spritzed again, this time in lime green.


I let this dry - overnight, so it was really dry.  I got out some alphabet peg stamps, and stamped we randomly around the page.  Then, I set to with my translucent embossing paint, and my Studio 490 dotty stencil - I love those dots.  I masked a middle section, as I'm not sure how the sentiment would have adhered over the stencil paste.  The really cool thing with the embossing paste is that, as well as sort of pulling the dye up into itself, it somehow seems to magnify the dye based ink underneath, it looks like raindrops!  And where it is over ink that is in layers, it keeps the separation - just so pretty!

Then, the sentiment, stamped onto the same type of card, and embossed with gold powder.  I used a pen lid to stamp some more circles around the sentiment.


Final touches when everything was dry/set: coloured the W with the same orange ink I'd used for the circles, and added this to a flag (as I've used on other pages) with a few more circles; and added the definition under the sentiment.


Why won't it really do for the EWV challenge?  Whilst Wendy has got the Studio 490 Embossing Paste, and it is made by Dreamweaver (I am sure I saw this on her blog), I don't have any of her paste, I only have the Dreamweaver one, which has been sitting on the shelf for a couple of years!!  Also, the challenge was to use the metallic pastes, and I only have the translucent - and this isn't in her range!  So, it's close, but no coconut - but it did make me break out the paste, and I LOVE the effect!!  I think I may be using this more, now I know better what it will do!


Materials

Inks
Dylusions - Fresh Lime, Pure Sunshine
Archival - Venetian Orange

Stamps
Hero Arts - Alphabet peg stamps
ClarityStamps - Togetehr we can handle anything
Pen top!!

Stencil
Studio 490 - Dots and striped borders

Bling and other stuff
Dreamweaver translucent embossing paste
Ranger Queen's Gold embossing powder

Wednesday 17 April 2013

E is for... Craft Barn Challenge

Two in one day, again!!


So, E is for Elegant (and/or Elegance) and Eye.  I have been thinking for a while about doing some colouring using different media but the same stamp. This was my kickstart to do it!  Thanks to the Craft Barn Challenge!

I used the Hampton Art/Graphic 45 elegant lady stamp.  She's stamped three times, and then coloured with Distress markers, watercolour pencils, and Promarkers.  I kept (ish) to the same colourways, and shading, as far as my supplies would allow.

I (finally) cut into one of my Graphic 45 paper pads for the Ladies' Diary strip on the page behind - maybe now I will start using more of the lovely papers, but I do just like to look at them...


For the eyes, I used a variety of stamps, stamped in versafine and masked, then swooshed and edged with Distress inks.  This extra piece is glued to the main page.  I had created a pounch, but it needed to be bigger, given the height of the stamp tags.


I think this will give me a good reminder of how the various colouring mediums work, and which ink pads to use with which - if I don't write it down, I'll forget!  So it is on the back of each of the tags.


Materials

Paper
Centura Pearl cardstock (non shiny side)
Graphic 45 8x8 pad - A Ladies' Diary

Eyes
Stampers' Anonymous SCF005 - Classics no 5
Free stamp from Craft Stamper
Versafine - Smokey gray

Ladies
Hampton Art/Graphic 45 stamp IC0189 Paris fashions

Stamped in Versafine - Onyx black
Distress Markers
Worn lipstick, Tattered Rose, Tumbled glass, Stormy sky, Milled lavender, Dusty concord, Peeled paint

Stamped in Archival - Jet black
Watercolour pencils - selection of Reeves and Derwent

Stamped in Memento - Tuxedo black
Promarkers/Flexmarkers
Glacier Blue, Cornflower, Blue grey1, Lilac, Lavender, Mint Green


H is for... Craft Barn Challenge

Hi all!

I am playing catch up with the Craft Barn Alphabet challenge, and here is my H entry.  H is for Home and Hell!  And sometimes both simultaneously!!


This is quite a simple two piece, based on the lovely pearlescent Centura Pearl card.  I cut two pieces the same size (ish), and coloured one with Pan Pastels (the first time I have had them out!!) to get to the flames of hell.  It's a real mixture of colours, and there's also a couple of other hard artist pastels included, as I didn't have a good orangey colour.  It's edged with a permanent black marker, and a touch of festive berries Distress Ink.   I doodled some flames on to finish it off.  Doodling's not really my strong point...

I used the lovely Darkroom Door Home stamp on the other piece, and masked it.  The sentiment is also from Darkroom Door.  Then I coloured the rest of it with Distress Ink, Mowed Lawn, and then stencilled over it in the same colour. I ripped the card, and edged it with the mowed lawn again (well, mowing the lawn is my idea of hell....), and stuck the two pieces together.  I added a bit of shadow around the torn edge.

As usual, the definitions (carefully cut from the Collins Concise Dictionary, as cutting into it is still giving me a bit of the jitters) are attached to the tag, which has a wooden H glued on, and a ribbon coloured with ink sprays.


Hope you like it!

Materials used

Ink
Memento - Rich cocoa
Distress Ink - Mowed Lawn, Festive Berries
Cosmic Shimmer - Vintage Green Antique,
Dylusions - Fresh Lime
Pan Pastels - sorry- not sure which!!

Stamps
Darkroom Door - DDRS041 Home sweet home

Friday 12 April 2013

Affra - One for my Sister

Several months ago my sister asked me to do something with feathers from her first bird, Affra.  Affra had passed away, and she wanted something to remember her by.

I like to reflect, ponder, cogitate on options, so it's taken me until this week to come up with this page - sorry for the delay, Sis!!


Affra's tail feathers are a really lovely irridescent red and green. It was playing around with the Dylusions lime green that gave me a starting point, that and having a bit of a tidy up (yeah, right!), coming across some amazing two tone (remember the suits?) paper that I think was wrapping on a Christmas bottle of wine several years ago.


So...  I started with a 12 x 12 sheet of white bazzill bling, and lightly ish sprayed some Dylusions lime green and perfect pearls interference red.  Between them, these really are Affra's colours.


 Then I hit the dies!!  There are three missing from the photo, all Tim Holtz Alterations strip dies: Tattered Banners, Alphabetical and Harlequin Border.  Otherwise, you can see one of my first Spellbinders, Shapeabilities Lotus pendant, Sizzix decorative flourishes, Tim Holtz Caged Bird, and a Crafting for you decorative doily.  Everything was cut either from Gold Mirri or this lovely red/gold two tone paper.  Wonder if the wine was as lovely??!
To assemble, I printed off 4 small photos of Affra, cut them out, and rounded the corners. I inserted the tail feathers behind the photos, but without gluing so that they can be removed if my sister wants to do soemthing different.  I glued the letters to the tattered banner, and glued the banner on at the ends, so that it sits proud of the page.
I used some of the waste from the harlequin and from the lotus pendant to 'drip' from the main border. And finally, I added a touch more bling to the Harlequin with some small Stampin' Up rhinestones.


Materials
Dies:
Sizzix - 657825 harlequin, 657482 alphabetical, 657179 tattered banners, 656634 caged bird, 656538 decorative flourishes
Spellbinders - S4-269 Lotus pendants
Crafting for you - doily set
 
Glue
Cosmic Shimmer dries clear PVA, red line tape
 
Ink
Dylusions lime green, Perfect Pearls Interference Red
 
Bling etc
Stampin' Up - Rhnestones
Gold Mirri from stash
Red two tone paper from stash