Sunday 16 June 2013

My Guy - Hels' Sunday Stamper Challenge

Hels Challenge this week was one for Father's Day, My Guy. 

My big thing this week was to use one of the canvas boards I found on ebay, and see if they might be a good substrate for the kinds of effects that we did on the Just Scrapbooking retreats.  I think they will be great, and I have spotted that there are 12 x 12s on his website...mmmm, I can feel a purchase coming on!  Anyway, sort of followed Hels' guide this week, except on canvas board.


Painted it up with cream and brown acrylic paint, then stamped liberally with three different background stamps: script, cogs, and the french advert.  Remembered to dry in between each layer this time...


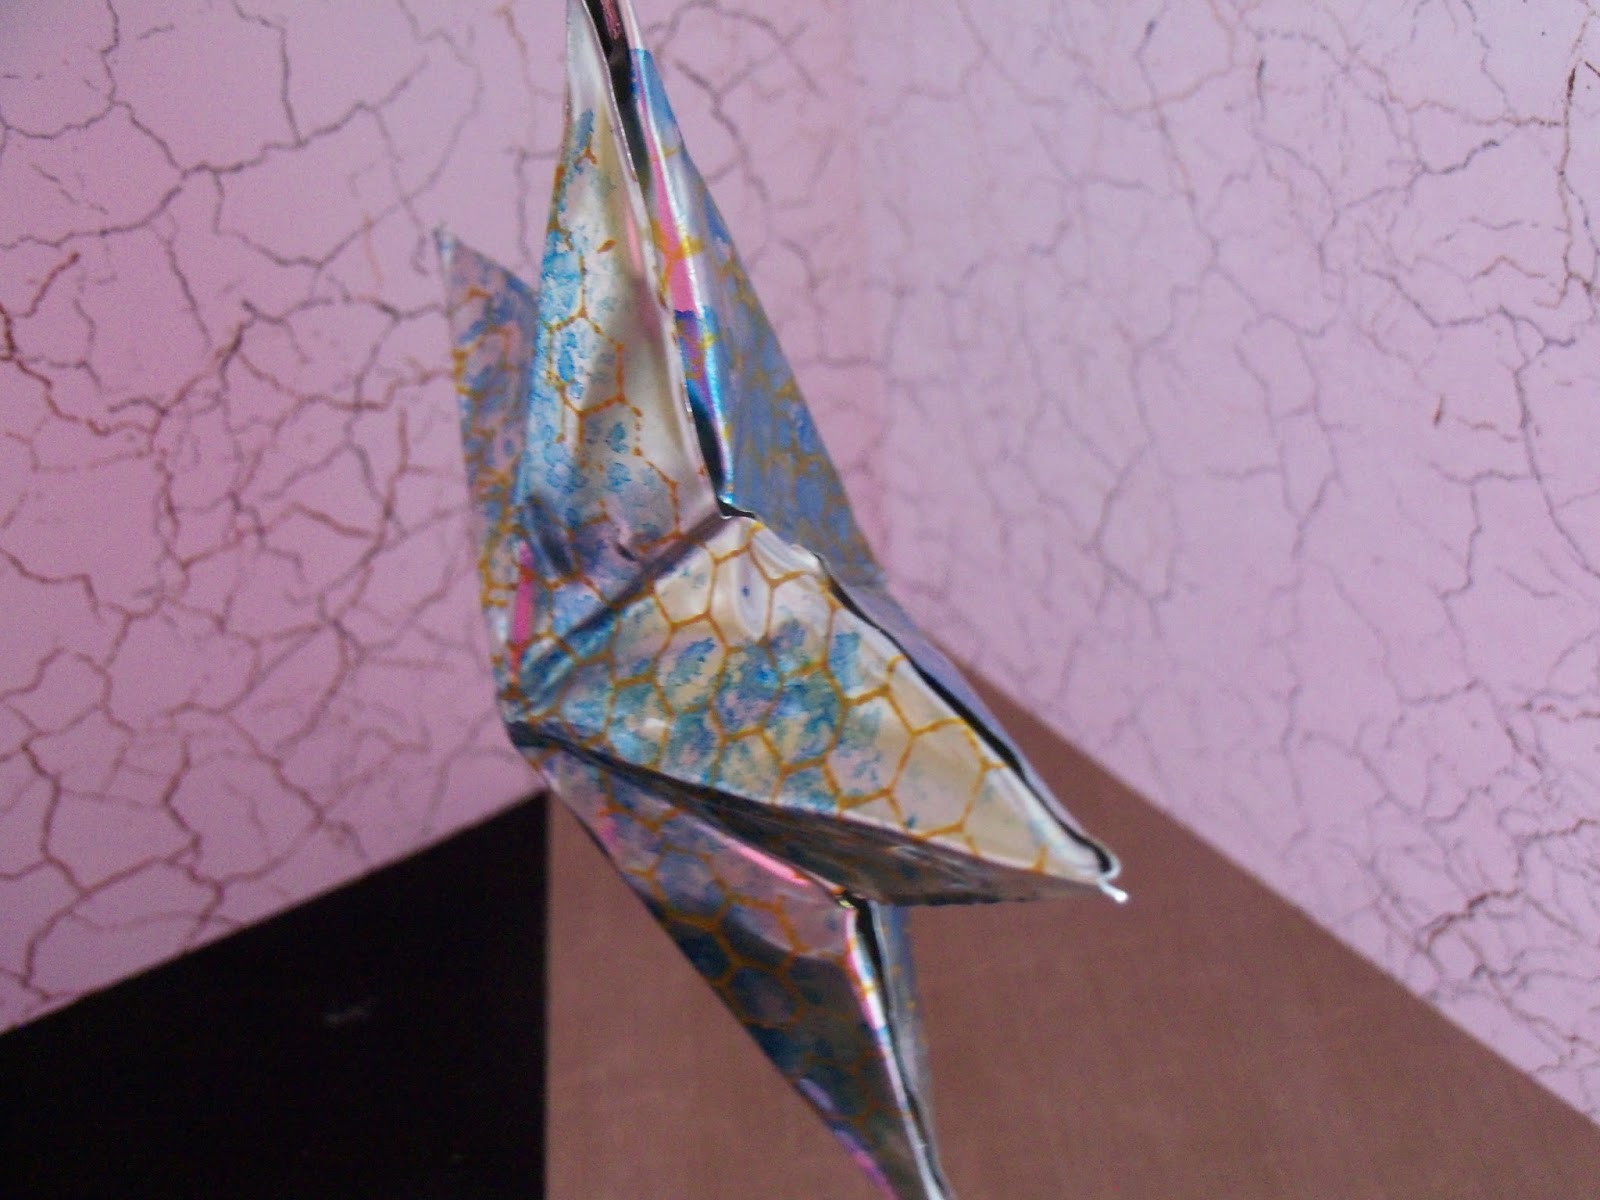
Moved on to the back side of Centura Pearl to do my stamping.  Had a few goes as the middle of the stamp did NOT want to play.  This is where Indigo Blu's slim jims come to the fore.  Finally got it to stamp properly, so dried it, and then used a waterbrush and distress inks to colour in.  Distressed the edges, and twisted two colours of bakers twine together, adding the Wish token.


I'm not sure where I saw this (might have been Helen's layout at Hatton Court last week), but somewhere I saw UTEE used as a glue, and thought it would work on this, especially as the canvas board is so lovely and robust. I melted some plain clear UTEE and poured it over where I had place the three flat cogs.  I then used my heat gun to soften it back up a little and added the real cog and spring and the two spiral wires.


I went around the edge with a gold paint dabber to close it off.


Whilst the boards are clearly sturdy, a cropodile can still go through them!  Wire and baker's twine twisted together to create the hanging.

Yup, I can thoroughly recommend these boards!


Resources

Substrates
Canvas Discount boards 15cm x 15cm
Centura Pearl

Paint and Ink
PaperArtsy: Nougat
DecoArt Traditions: Quinacridrone Gold
Adirondack Paint Dabber: Gold
Distress Ink: Vintage Photo, Bundled Sage, Frayed Burlap, Antique Linen
Versafine: Vintage Sepia

Stamps
PaperArtsy: Gentleman Plate 1, Cogs (mini), Old Text (mini)
Stampers Anonymous: Papillion CMS106

Bling and glitz
Ranger UTTE: clear
From Stash: Wire, Bakers twine, eyelets, cogs, and medal

U is for... Craft Barn Challenge

Morning Crafters!  Not sure how much time I am going to get for the next couple of weeks to spend time in my beloved craft room, so need to get my skates on to keep up with the various challenges I like to do.

This fortnight the Craft Barn Alphabet challenge is U.  Having felt inordinate pride at the Trooping of the Colour, and particularly the fly past yesterday, I opted for Union Jack and Underground.  As I had a lovely die I have been meaning to use for a while (THERE's a regular theme!), I knew I could do this fairly quickly!

 
I cut the Union Jack from Centura Pearl, and then adhered a sheet of double sided glue to the back of it.  Then decision time.  Which of the GORGEOUS mega flakes to use?  Plumped for Peacock Feathers, as this always reminds me of petrol - you know that lovely effect you get with petrol on water?  There are also two small areas with blue glass glitter - it didn't really want to adhere, but with some pressure (me leaning heavily on it!), I persuaded it!
Then I stamped the underground stamp in red and blue, cut them out, and mounted them over the corners. 
As usual, the definitions are on the tag, along with the wooden U.  The finishing touch is a loop of Union Jack ribbon - that is such good quality - why haven't I used THAT before??
Hope you like!
 
 
Resources

Stamps and Dies
Sizzix Bigz Die: Union Jack 658296
Darkroom door: London Volume 1 DDRS073

Ink and paint
Versafine: Crimson Red, Majestic Blue

Bling and other stuff
IndigoBlu Mega flakkes: Peacock Feathers
Portobello Road ribbon: Union Jack
Wooden letter from stash


Saturday 15 June 2013

Hatton Court - Just Scrapbooking Weekend

Well!  Linda Knight is A-MA- ZING!  Last weekend, she held a retreat in Gloucestershire, which was so much fun, using mostly stuff (apologies for the technical jargon!) I'd used before, but so so differently!

I'm not going to go through what we did for each layout, just post some photos.  Each of these is a 12 x 12 page, and I think the key thing for me is that the papers just aren't man enough!  Going to see if I can source some canvas boards to use next time...and sorry, Linda, there WILL be a next time! 

So here we go:


 Gelli plate printing, and a henna tattoo hand...

 with an Andy Skinner stencil, and some stamping in white...
This one was ripping fun!  Why don't PaperArtsy make this paper any  more??            That butterfly is super lightweight modelling clay, covered with embossing powder and heated - it went puffy!
I love this pic of my mum and dad...one of the few surviving ones of them together!

Linda introduced us to sari silk...wooooh, lovely...
Then we moved on to Stewart Gill Byzantium paint - why have I never seen this before?  OMG!  Made for me!!
To be honest, I hadn't really prepared well for this weekend. Despite have three large bags of stash, I realy didn't have enough embellishments. When I saw some of the others from the team, mine was distinctly light! But I have got the idea!
 
Dark card, black gesso stencilled on, then Fantasy film!  Again, who knew you could have such fun with an iron!?! 
The majority of the embellishments are metal.  but those wings are the modelling clay again, painted black, and touched up with Inka Gold in blue.


 A bit more fantasy film, some angelina fibres, punchinella, and a classy photo!

  No photo on this one!  Pure playing!  But the paper really gave up the ghost, hence the weights on the corners to try and keep it flat!

Twinkle Twinkle - EWV challenge for June

Hi all!  Been a bit quiet recently, it's this work thing...  There'll probably be a few posts today, as I am playing catch up!

So on the Everything Wendy Vecchi Group, the challenge was a bit different this time - we got the ingredients, and had to find the recipe!  Ingredients were:  Wendy Vecchi stamp(s), blue and metal.  I got a bit literal on this one, my metal is craft metal, blue alocohol inks, and the gorgeous honeycomb stamp from Art For You.  I came up with this:

I die cut the metal using the Bigz Star Bright 3d die.  I used a few different blues on the alcohol ink applicator and dabbed that over both pieces of metal, and allowed it to dry well.

Then I stamped the honeycomb with gold Stazon, and waited for it to dry (for two weeks!!).

Then the fiddly bit!  I used red line tape on the tabs, and used my tweezers down in between the pieces to make sure that the tabs folded back into the other piece.

Final touch, some lovely metallic embroidery thread from my stash (want to use that for some kumihimo soon) and a blue bead that has been staring at me for about a year!!  First Crimo decoration of the year!!

Just noticed - the pictures look a bit pink - that's the reflection of my lovely pink polo shirt!!

Hope you like!

Resources

Substrate
Woodware craft metal
Sizzix Bigz: Star Bright 3-d 658265

Ink and paint
Adirondack Alcohol ink: Cloudy Blue, SailBoat Blue
Stazon Metallics: Gold

Stamps
Studio 490: Art for You LCS093


Bling and other stuff
Embroidery thread, bead from stash

Sunday 2 June 2013

Follow the Dream - Hels Sunday Stamper Challenge

Hi all, got a busy week this week (pesky work getting in the way!!), so I have got my act together and made my entry for Hels' challenge straight away.


There's a bit of a story to this one... I started work almost exactly 32 years ago (how can that be??!). I started off in a bank back in the good old days, when we worked for a service industry, and the manager knew everyone.  I really enjoyed it, and I could see a career path, which allowed for the fact that I was married to someone else in the bank. (Keeping up??!) Now, said husband was a surfer, so we spent as many weekends as possible down in Cornwall, me watching, and him surfing.  I loved Cornwall so much, my dream was to be Admin Manager of Penzance branch.  So this piece represents my Dream back then; a split screen Vee-Dub, living down near Lamorna, with crocosmia all over the place!

Ok, that's the explanation!  Here's the recipe!  Started off with the Stamps Away Camper van.  I painted all the pieces up with acrylics.  The headlamps were covered with silver dabber, then a coating of glossy accents.


The label was painted up with Distress Stains, and then oversprayed with mica to give the shimmer I remember in the sy and over the fields.  The stamps around the edge are there to give the impression of crocosmia - I haven't found a stamp for crocosmia yet!!  Because I wanted to have the stems in green and the tops in orange, I used Distress Markers. Why haven't we got the seasonal specials in the markers yet??  Then I would have used the Ripe Persimmon - would have been a much truer colour.


The sentiment may strike a chord with any of my school chums who may be looking at this - shall we Follow the Gleam, girls??  Paraphrasing the Sunny Hill motto, I stamped all three words in Brilliance, but embossed the Dream word to make it pop a little more.

Glued it all together, and hey presto, I am 32 years younger!!  (If only...)  Hope you like.


Materials

Substrates: StampsAway Medium label shape and Camper Van

Paints and Inks
DecoArt Americana: Soft Blue, Lamp Black
PaperArtsy Fresco Finish: South Pacific, Nougat
Adirondack Paint Dabber: Silver
Distress Stain:Shaded Lilac, Weathered Wood, Bundled Sage, Chipped Sapphire, Picket Fence
Distress Marker:Spiced Marmalade, Peeled Paint, Dried Marigold, Pine Needles
Distress Ink: Ripe Persimmon
Brilliance: Galaxy Gold, Peacock

Stamps
Darkroom Door: Discover DDRS090
ClarityStamp: Wild Poppies, Bullrushes, Hedgerow Flowers
Hero Arts: Happy Upper Case Alpha LL243

Bling and Other Stuff
Stampendous Embossing Powder: Detail Gold
Cosmic Shimmer Vintage Mist: Antique Green
That Special Touch Mica Mist: Warm Gold, Azure

Saturday 1 June 2013

F is for... Craft Barn Challenge

Hi there!  Been a bit quieter on the crafting front as I am actually back in gainful (paid!) employment!  However, couldn't miss the Craft Barn Challenge - as soon as I saw it was F, I KNEW it would feature feathers in there!  So, Feathers, Flight, and Fall are my entry this time.  Oh whoops, while adding the link, I notice the challenge is between Fe and Fr, so FALL won't count... still two out of three ain't bad, as the amazong Mr Loaf once said...
 

As you may have spotted from my other Craft Barn Challenges, I enjoy having 'page turners', which gives me more area to decorate.  This one is no different.  However, because I wanted to have my feathers falling, this time the pages opens upwards, rather than outwards, if you see what I mean.


I have used Centura pearl card, wrong side in.  That is, the top flap, with the definitions on, is the pearlescent side.  The unshiny side is excellent with Distress Inks, so I used 6 of them to create the background!

Once I had swiped the colours on with Cut n' Dry, I flicked water on, and also spritzed water over, which I then dabbed off, creating that background.

Having done that, the next step was to stamp feathers, in the same colours of DIs. And then in versamark, and embossed in gold and clear detail powder.


I had in my head something about fallen angels, so I used a lovely stamp for a pair of wings, and coloured them with Cosmic Shimmers watercolours.  With hindsight, should probably have embossed them, but they do look quite good...Way more bling-y in real life!!

I can't believe I went for fancy cutting - I usually don't do that sort of thing AT ALL, and especially when I have blisters on my fingers from cutting out stamps last night. How very daft of me...  how I suffer for my art!


On the page, they are raised up on foam pads to give some dimension, and 'curled' slightly.


The top flap has the definitions, as I mentioned, but I couldn't leave it at that!  I stamped the lovely bird, and used Distress Markers to colour him in.


Finally, as usual, I added a flag with the wooden F on, to match my other pages.  Hope you like!

Materials

Paints and Inks
Distress Inks: Bundled Sage, Shabby Shutters, Mowed Lawn, Peacock Feathers, Tumbled Glass, Faded Jeans
Distress Markers: Chipped Sapphire, Stormy Sky, Broken China, Antique Linen, Spun Sugar, Picket Fence
Archival: Jet Black
Versamark Dazzle: Frost
Cosmic Shimmer Water Colour paint: Sunlight Cream, Marine Aqua, Summer Grass

Stamps
Sheena - A Little Bit Sketchy: Divine Inspiration, Falling Feathers
Stampers Anonymous: Nature's Moments CMS001

Die Cutting
Sizzix On the Edge: Scrollwork

Bling and Other Stuff:
Stampendous Embossing Powder: Detail Clear, Detail Gold