Showing posts with label Die Cutting. Show all posts

Sunday, 15 June 2014

Kathryn Wheel - Calendar Challenge June

Yes, late again...ah well.  This month (since I have started a new job, really) I have felt like I am chasing my tail, so I went with an Alice in Wonderland theme, mostly

'I'm late, I'm late for a very important date, no time to say 'Hello' - 'Goodbye'....'  Here are my two pages:


On Kate's last session at the Stamp Attic she made a comment along the lines of 'you don't have to start with gesso on your page, but if you don't, it's a bit like going out without your knickers.  It'll probably be OK, but you just don't know...'  So I started with gesso. In honour of flaming June, I went with a yellow and blue theme.  I dragged a hotel key card through some black paint too, just for a contrast.


When it was dry, I used a clock face mask, and a selection of Alice related stamps.

I die cut loads of pocket watches from card, and randomly stamped more of the Alice stamps on them.

Stuck them all down, and hey presto!

Hope you like

Resources

Ink and Paint
Liquitex basics: Ultramarine Blue, Cadmium Yellow, Black
Winsor & Newton: Iridescent white
Distress Ink: Squeezed lemonade, Mustard Seed, Salty Ocean, Stormy Sky, Mowed Lawn
Archival: Cobalt

Stamps
TJ Design: Wonderland Silhouettes
Deep Red: Mat Hatter Tea Party

Bling and other stuff
Pebeo Gesso
Tim Holtz Collection Layering Stencil: Clockwork
Tim Holtz Alterations Movers and Shapers: Mini Clock Key & Pocket Watch

Sunday, 19 January 2014

Back to class... The Art Society - Soar

Hi there.  I don't really believe in New Year's resolutions, but I have been thinking that I would like to do more different things, learn more, try more, and most of all, use some of the stash!! 

I have always been interested in Christy Tomlinson's style, and when I saw she was doing an online class this year, I thought 'Aha, that's for me!'  So, along with Kate Crane's calendar challenge, and The Craft Barn Quote's and Lyrics challenge...hmm...we shall see, and a few classes with Kate and Andy Skinner, and I have to fit Just Scrapbooking in...Aaaargh!  But such fun...  I wonder, will I be able to fit work in?

It's not appropriate for me to do a step by step on this, but I will add a few photos.  It isn't a copy of Christy's but it is in the same style, but perhaps a little more blingy - of course!!


Just checking everything fits.


Painted book pages


Spellbinders dies cuts, sprayed, of course, with cosmic shimmers


Butterflies and peacock feathers!  Match made in heaven


Normally, pink would be my colour of choice, but...


...cream looked so much better!  Still needed some bling, tho
Just a touch of Alchemy on the butterflies, and on the letters...

Hope you like!

Resources

Substrate: Liquitex 10 x 8 canvas, book pages,  Stampin' Up papers: Springtime Vintage

Paint and Ink
DecoArt Traditions: Prussian Blue
PaperArtsy: Pea Coat, Nougat
Archival Ink: Cobalt
Stewart Gill Alchemy: White Opal

Stamps and Dies
Stampotique: Amy Wilson Alphabet
Spellbinders: Peacock Feathers S4-429

Bling and other stuff
That special touch Mask: Butterfly
DecoArt Americana: Decoupage Matte
Daler Rowney: Glaze Medium
Cosmic Shimmers: Pearl, Twilight black

Wednesday, 18 September 2013

In the garden - Tando Creative

Hi all.  This week's challenge is 'In the garden'.  In my head, I saw my Mum out in the garden cutting dahlias for the chapel flowers, with an old fashioned, and indeed OLD trug.  So I started off with the 3d basket, and set to, to make it look old!

I ran all the pieces through the big shot with the Harlequin mask.  Several layers of paint later, I used the harlequin mask again and some distress ink, to really knock it back.  I forgot to take a final photo of the replacing of the mask, and the reinking - but you will see it at the end.


Then I die cut a few flowers.  More than a few actually!  I layered them up and created stems out of florist's wire, and glued some card candy over the middle, to hide where the wire went in.


All the flowers were planted into oasis, which I covered with tissue paper sprayed green. Doesn't oasis feel odd? Not sure I like it...  I had also Crop-o-dile'd a few holes through the side walls, and pressed some prima flowers through.


I stamped and embossed in gold a massive butterfly, and then painted it in Twinkling H2Os on the front.  On the back, it got a coating of Alchemy paint, to give that shimmer you see when a butterfly closes its wings.  The finishing touch was a small piece of board painted up, and then stencilled with the leaf mask, and then stamped with 'Time to Garden'.  I had two spare clock hands from somewhere, painted up in the same sort of colours as the trug and the plaque.

And now I have a reminder of my Mum's green fingers!  Wish I had inherited them!!


Now you can see the reinking, where I replaced the mask.  This shot is from the side...


...and here's the butterfly in all his glory, from above.


I've really enjoyed my month as Guest Designer for Tando.  Such a great variety of blanks, and they take paint so well.  Hope you've liked what I have done with their stuff!

Resources

Substrate: Tando Creative 3D Basket (3DBASKHAND)

Dies and Stamps
Sizzix Big Shot Pro
Sizzix: Flower, Build a flower#3 655969
Sizzix Tim Holtz Alterations:  Tattered Florals 656640, Mini Tattered Florals (Movers and Shapers) 657488, Base Tray 657007
Artemio Alpha stamps ARTA61
Stampin' Up!: Swallowtail

Paint and Ink
PaperArtsy: Nougat (my absolute favourite colour!)
IndigoBlu: Hot Cocoa, Peppermint Tea
Stewart Gill Alchemy: White Hot
Dylusions: Fresh Lime, Black Marble
Distress Ink: Evergreen Bough, Walnut Stain
Distress Stain: Evergreen Bough, Black soot
Archival Ink: Watering Can

Bling and other stuff
Twinkling H2Os: Plum Crazy, Red Pearl, Poppy Red, Persimmon
Stampendous Embossing Powder: Detail gold
Card Candy
Tando Creative Masks: Leaves set of 2 (MSKLEAVES2), Harlequin (MSKHRLQUIN)
Prima flowers, eyelets, brads, beads, oasis, florists wires, all from stash

Sunday, 15 September 2013

Larger Than Life - Tando Creative

The only guidance for this week's challenge for the Tando Creative blog was bigger pieces rather than minis.  Well, this take on a dream catcher measures 30" from top to bottom!  Biggest thing I have ever done!

I started with 3 sheets of 12x12 Tando chipboard, and two metal rings, 12" and 7" diameter.  I used a couple of different star dies to cut the stars out of the card, and then painted them up to give them a good base coat.


Then I blinged them up, with mica (what else?!) and when that was dry, I used a star mask, with translucent embossing paste.  When that dries, it is amazing the effect it has on the paint and mica below.  It pulls the mica up into itself, and holds it in suspension, almost.


(the difference between the embossing paste when it's wet (white in the picture above) and dry - clear in the picture on the left is amazing!)

I had this silver furry ribbon in my stash, along with the beaded wire.  I glued the stars together, trapping the silver 'fur' in between the two layers, and then wound the excess round the rings.


I then wound the beaded wire over the top of the fur, which will hold the tinsel in place, and also used it to create a hanging loop at the top.

The smaller stars hanging from the bottom had the same treatment, but with slightly different colours.  When dry, they were glued together, trapping the end of the tinsel in between.

One (large) post-modern dream catcher!  (or a Christmas decoration, perhaps)

Hope you like!


Resources

Substrate
Tando Creative chipboard sheets
Metal rings

Dies
Sizzix Originals: Stars#2 654995
Sizzix Alterations Bigz: Star Bright 3D 658265
Sizzix Big Shot Pro

Paint and ink
IndigoBlu English Cottage Acrylic paint: Grandma's Teacup, Park Lane
Adirondack Paint Dabber: Silver

Bling and Other Stuff
Crafters Workshop Mask: 12x12 Punchinella
Dreamweavers embossing paste: Translucent
Luminarte Primary Elements: Majestic, Wisteria
Cosmic Shimmers Mica pigments: Silver
Perfect Pearls Mist: Interference Red

Free for all - Tando Creative

Hi all!  This week's topic was 'Free for all'. This made me think of 'free time' and I do love doing a clock!  The first time I 'noticed' Tando was on an Andy Skinner workshop, where we did a box, with cogs and things, then the next time was a clock.  I now have 3 Tando clocks around the house!


I started this time with a 12 x 12 sheet of board from Tando, and I pinched a mechanism out of one of my other clock kits, sat in the cupboard.  I had a bag of Tando cogs, and several cog dies.  I also used the large circular clock face.  I had in mind Andy's rust technique, but more blingy.


I sealed both sides of the board with matte medium, and punched a hole in the centre of the board with my crop-o-dile.  I cut several cogs and glued them down on the board, and some webby stuff from my stash, and used a clock face mask with modelling paste.  I then painted the lot with lamp black, three coats, to give it a good base.  When it was dry, I gave it two washes (allowing it to dry in between coats). 


 Then I got my new Stewart Gill paints out!  These are billed as jewel tones, and oh yes!  They are. The colours mix really well, and there are also some amazing iridescent mixers too.  I completely forgot to take a picture while I was painting, so this one is from when it was assembled (whoops).

I painted the clock face in shades of green and gold; I was thinking verdigris, but heavy on the gold.

The Tando cogs I painted separately, that is, straight in with the jewel paints.  The photographs really don't do it justice - the shimmer is amazing!


I wanted to add 'weights', so broke out the beads!  I cut some chain down, and created some embellishments using beads, and some more of the cogs, glued together.  I also had some nice time themed metal embellishments, which got rubbed with alcohol ink, to tie them in to the colour scheme.

Then I came to assemble to the clock - and realised (again - I did exactly the same thing last time!) that the mechanism needs two layers of board, not just one!  So, one of the spare circles I had over in my stash went through the big shot, to create another cog.

It got a similar treatment to the clock face, but with some embossing powder to give it a pitted look. 

The hands got alcohol inked, so they would stand out against the face - if I had left them black, I'd have never been able to read the time!

This has definitely been the most involved piece I have done to date.  Plenty of layers of paint, and then making all the bead drops for the weights! 


I finished the back off , swooshing around the edges with black paint, and then with a sheet of black card - using the big shot pro (ooh, new toy!) to cut a cog out of the centre, so I could put the mechanism through the central hole.

Now FOUR Tando clocks around the house....

Hope you like - I really do!

Resources

Substrate
Tando Creative:    12x12board, 12" round clock face, Cogs grab bag,

Paint and Ink
Stewart Gill Byzantia: Laurelius, Constantine, Seraphym
Stewart Gill Galactica: Holo Silver
Stewart Gill Alchemy: White Opal, White Mist,
Stewart Gill Meta Mica: Bright Gold
DecoArt Americana: Lamp Black
DecoArt Traditions: Transparent Red Iron Oxide, Quinacridone Gold

Dies
Spellbinders: Sprightly Sprockets S5-048
Sizzix Tim Holtz Alterations: Mini gears set 657211, Gadget Gears 656636

Bling and glitz
Chain, beads, wire from stash
Embellishments from stash
Web ribbon stuff (!) from stash
DecoArt Modelling paste
Tando Creative Clock face mask
Claudine Helmuth Matte medium

Monday, 26 August 2013

O is for... Craft Barn Challenge

It seems like ages since I have posted anything, and that's because....I can't tell you!! Suffice it say, all will be revealed, in time!  (Now that was a cracking musical!!  Cliff Richard - Excellent!)


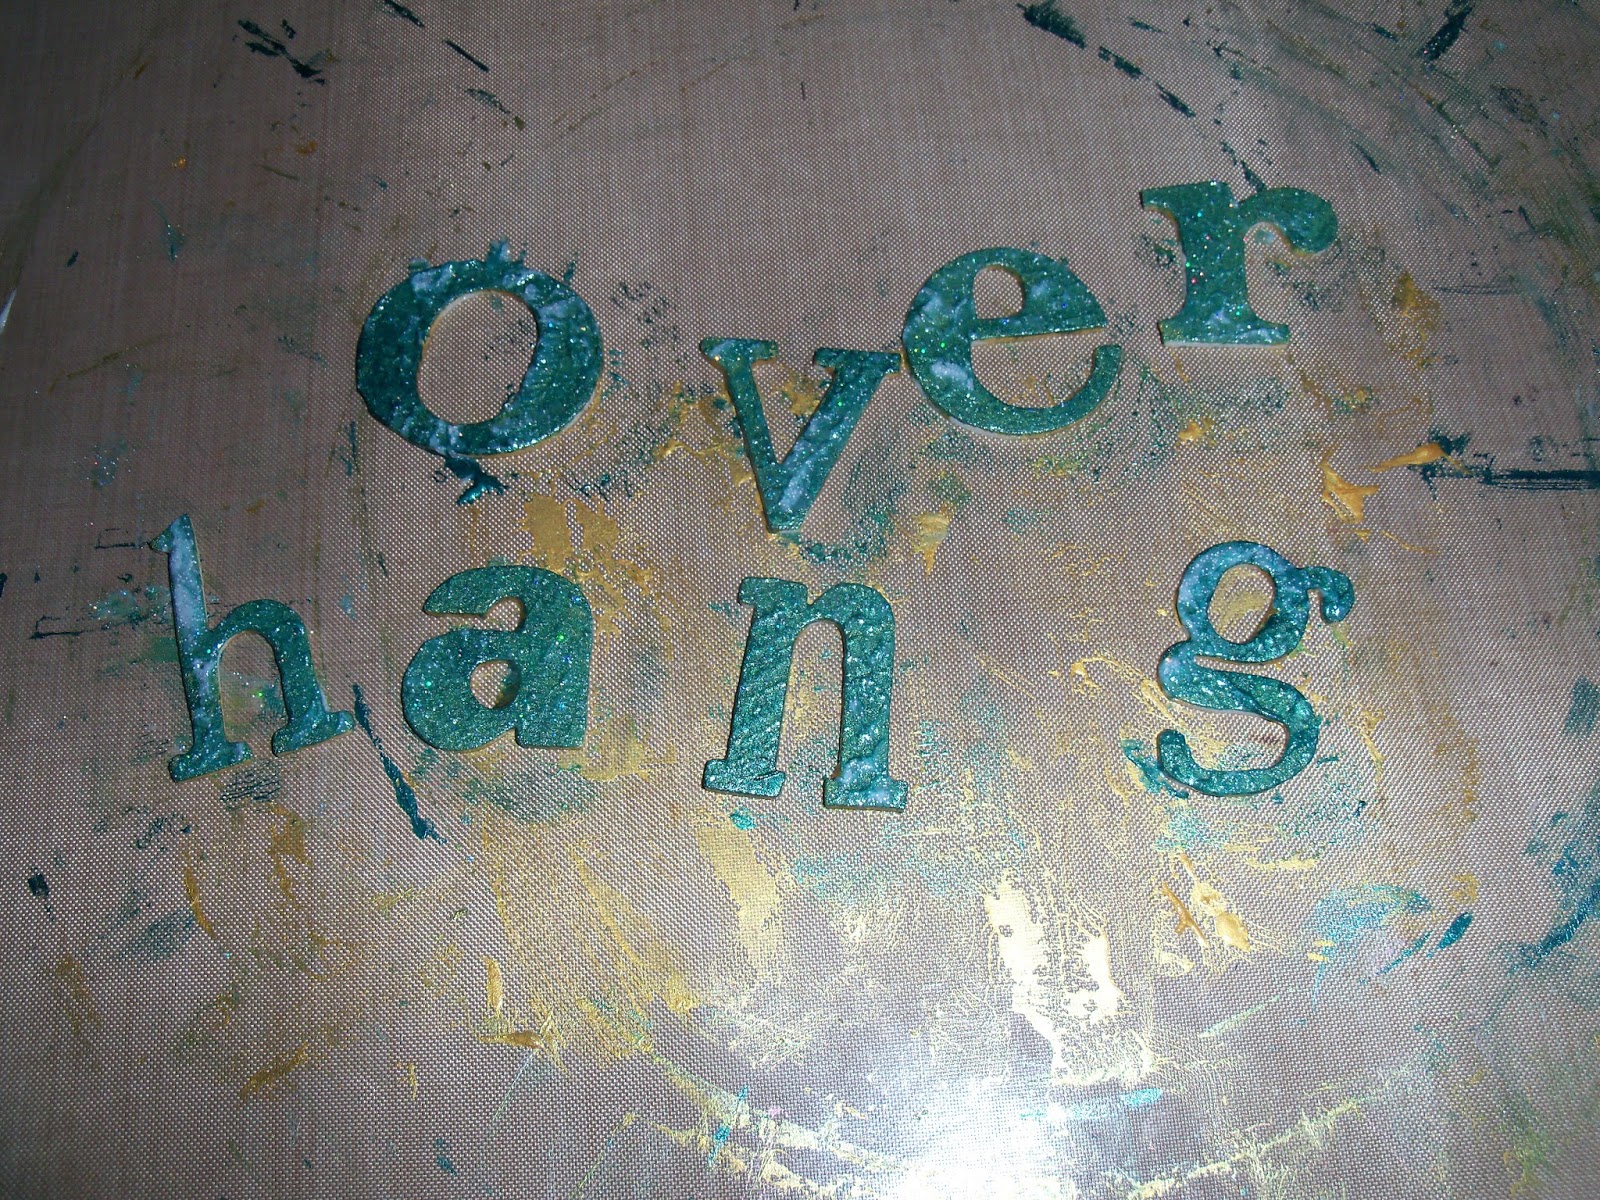
Anyway, this fortnight's challenge from the Craft Barn was O.  O in my world is for Overhang, Opening, and Ovum (well Ova, really, as there are 4 of them).  There's also a bit of Orange in there, and for any fans of The Two Ronnies: Well, 'Got any 'ose?'  Yes, Os!  I managed to use my two new toys on this...


As usual I started with Centura Pearl as my base. I measured and scored it, then swooshed the inside with Distress stains.  I did a bit of dripping technique, and also flicked water on it, and dabbed it off. 


The Os are die cut  (using my lovely new Big Shot Pro!!!!  Woo hoo!!) again from Centura Pearl, as it does stand up to being ill-treated!  I used them as a stencil to spray black Dylusions through, and then turned them over and painted the glossy side with Tarnished Brass stain, and then sprayed Twilight Black cosmic shimmers over. Love the effect - like gunmetal.


I cut the 'window' out twice from Centura Pearl again, and used the same sorts of colours on the side facing.  When it was (nearly!) dry, I pierced holes for my brads to go through, and then glued the facing side to the inside  - to cover the brads.  Inside, I glued my 4 ova, and stuck the aperture down.


On the front flap, more distress stain, and a couple of dribbles of cosmic shimmers.


I die cut  (Big Shot Pro again!!) the letters from skinny funky foam - it's probably a bit too skinny, but hey!  Then, out comes the other new toy...  Linda Knight introduced me to Stewart Gill Paints.  I bought more, O. M. G.  Wow.  And again WOW!!  I painted the letters in Byzantia Laurelius, which is a jewel tone on its own, but then I added Galactica over the top.  This is like holographic glitter suspended in paint, and is just gorgeous.  Wait till you see what else it does (oops - you'll have to wait for that!)

As usual, the definitions cut from my Mum's old Collins Dictionary have been glued to a tag, with Orange ribbon, and another O.

Hope you like!


Added extra:  I realised (OK I was told!!) that the definitions didn't show up.  So one more photo, to show them on the tag, which was tucked in behind the main page.  Sorry!


Resources

Ink and Paint
Distress stain: Wild Honey, Mustard Seed, Shaded Lilac, Dried Marigold, Tarnished Brass
Stewart Gill Byzantia: Laurelius
Stewart Gill Galactica:  Holo Silver
Versafine: Majestic Blue
Dylusions: Marble Black

Dies and Stamps
QuicKutz: Pop-up door (REV-02320S)
Sizzix (Tim Holtz Alterations): Wordplay (657837), Washer Border (657826)
7 Gypsies: Conservatory (17907)

Bling and other stuff
Cosmic Shimmer: Twilight Black
Prima: Brads
Ribbon from stash