Showing posts with label Tando Creative. Show all posts

Saturday, 25 January 2014

Squeeze - Q&L Challenge

The Craft Barn's challenge this year is around Quotes and Lyrics, and the first one is 'Smile' and/or 'Up'. 

One of my favourite bands is Squeeze - Difford and Tilbrook write the most amazing lyrics, and Up the Junction is brilliant, for so many reasons.  It's all in the present tense, but tells a story over several years.  And it is really poignant.  I used to live around the corner from Clapham, and I used to catch one of the old routemasters (the ones you could hop on the back of, you didn't have to wait for the doors to open).  I put all of this together, and came up with:


I found a fantastic artist's sketchbook, A3 size, so this is really going to give me space to play!  I watered the page, and smooshed on quite well watered brusho pigments.  They are still quite vibrant colours!

Then I did some stamping, using archival inks, and a little bit of stencilling - musical notes!


I stamped the words and the bus in Archival.  I added a little more watered down brusho to the bus, and then some white enamel accents - the old no 11 was this cream and red livery, back in the day.

I doodled around the edge of the words (this is the last line of the song), added a little shading underneath and, hey presto!

It is amazing how much difference that little bit of shadow makes - this is the page BEFORE shading.


On the facing page, when it has dried a little, I am going to write out the full lyric.  But it is still a little damp at the moment!!

Hope you like!

Resources

Paint and ink
Brusho pigments: Cobalt Blue, Prussian Blue, Black, Sea Green, Leaf Green
Archival Ink: Jet Black, Watering Can, Red Geranium, Sap Green, Fern Green, Manganese Blue
PaperArtsy: Nougat
Stampin' Up: Whisper White Pigment ink
Aquash watercolour crayons: Black

Stamps and Stencils
IndigoBlu: Square Peg Round Hole, Harlelquin
PaperArtsy: London Plate HP1208EZ
Artemio: capital letters
Hero Arts: Printers type lower case
Tando Creative: Music Mask

Bling and other stuff
Micron Fineliners
Sakura Gelly roll stardust pens
Enamel Accents: White

Saturday, 2 November 2013

N is for... Craft Barn Challenge


This week's letter in the Craft Barn Challenge is N.  Today being an auspicious day, that is, Newcastle beat Chelsea 2-0, my mind went immediately to Newcastle.  However, it isn't in my dictionary.  But... Northeast is, and, of course, Newcastle is in the Northeast.  Hence my photo of the Angel of the North, being a good representation of the land of my junior school days.  Even tho she wasn't there when I was at school; she came many years after I left, but I still love her!
 
 
As well as N being for Northeast, it is also for Numbers, and because that had a fantastically long definition (too long for the space I wanted to fill) I chose Numeric, which gave me a chance to use this lovely embossing folder.
 
So what did I do?  First, the bingo card:  I coated one side of the embossing folder with Peacock Feathers Distress Ink, and pushed it through the Big Shot Pro with my usual Centura Pearl cardstock.  When it had dried, I tapped 3 different colours of Brilliance lightly over the top.
On the other leaf, I half embossed the circles (which looked a bit compass-y to me), and painted a layer of South Pacific over it.  When that was dry, I dry brushed some gold lightly, in a north-easterly direction, milud.     I painted up the compass in the same colour gold, and added a rhinestone at the 'wrong end', and glued it to point to the north east of course.   My photo of the angel was distressed around the edge, and some more of the gold paint dry brushed along the scuffed edge.
There you go!  Hope you like!
 
Resources
 
Paint and Ink
Distress Ink:  Peacock Feathers
Brilliance: Lightening Black, Starlite Black, Coffee Bean
PaperArtsy Fresco Finish: South Pacific
Stewart Gill MetaMica: Bright Gold
 
Bling and Other stuff
Sizzix Embossing Folders: Bingo and Grungy Circles
Stampin' Up: Self adhesive gem
Tando Creative: small compass

Wednesday, 18 September 2013

In the garden - Tando Creative

Hi all.  This week's challenge is 'In the garden'.  In my head, I saw my Mum out in the garden cutting dahlias for the chapel flowers, with an old fashioned, and indeed OLD trug.  So I started off with the 3d basket, and set to, to make it look old!

I ran all the pieces through the big shot with the Harlequin mask.  Several layers of paint later, I used the harlequin mask again and some distress ink, to really knock it back.  I forgot to take a final photo of the replacing of the mask, and the reinking - but you will see it at the end.


Then I die cut a few flowers.  More than a few actually!  I layered them up and created stems out of florist's wire, and glued some card candy over the middle, to hide where the wire went in.


All the flowers were planted into oasis, which I covered with tissue paper sprayed green. Doesn't oasis feel odd? Not sure I like it...  I had also Crop-o-dile'd a few holes through the side walls, and pressed some prima flowers through.


I stamped and embossed in gold a massive butterfly, and then painted it in Twinkling H2Os on the front.  On the back, it got a coating of Alchemy paint, to give that shimmer you see when a butterfly closes its wings.  The finishing touch was a small piece of board painted up, and then stencilled with the leaf mask, and then stamped with 'Time to Garden'.  I had two spare clock hands from somewhere, painted up in the same sort of colours as the trug and the plaque.

And now I have a reminder of my Mum's green fingers!  Wish I had inherited them!!


Now you can see the reinking, where I replaced the mask.  This shot is from the side...


...and here's the butterfly in all his glory, from above.


I've really enjoyed my month as Guest Designer for Tando.  Such a great variety of blanks, and they take paint so well.  Hope you've liked what I have done with their stuff!

Resources

Substrate: Tando Creative 3D Basket (3DBASKHAND)

Dies and Stamps
Sizzix Big Shot Pro
Sizzix: Flower, Build a flower#3 655969
Sizzix Tim Holtz Alterations:  Tattered Florals 656640, Mini Tattered Florals (Movers and Shapers) 657488, Base Tray 657007
Artemio Alpha stamps ARTA61
Stampin' Up!: Swallowtail

Paint and Ink
PaperArtsy: Nougat (my absolute favourite colour!)
IndigoBlu: Hot Cocoa, Peppermint Tea
Stewart Gill Alchemy: White Hot
Dylusions: Fresh Lime, Black Marble
Distress Ink: Evergreen Bough, Walnut Stain
Distress Stain: Evergreen Bough, Black soot
Archival Ink: Watering Can

Bling and other stuff
Twinkling H2Os: Plum Crazy, Red Pearl, Poppy Red, Persimmon
Stampendous Embossing Powder: Detail gold
Card Candy
Tando Creative Masks: Leaves set of 2 (MSKLEAVES2), Harlequin (MSKHRLQUIN)
Prima flowers, eyelets, brads, beads, oasis, florists wires, all from stash

Sunday, 15 September 2013

Larger Than Life - Tando Creative

The only guidance for this week's challenge for the Tando Creative blog was bigger pieces rather than minis.  Well, this take on a dream catcher measures 30" from top to bottom!  Biggest thing I have ever done!

I started with 3 sheets of 12x12 Tando chipboard, and two metal rings, 12" and 7" diameter.  I used a couple of different star dies to cut the stars out of the card, and then painted them up to give them a good base coat.


Then I blinged them up, with mica (what else?!) and when that was dry, I used a star mask, with translucent embossing paste.  When that dries, it is amazing the effect it has on the paint and mica below.  It pulls the mica up into itself, and holds it in suspension, almost.


(the difference between the embossing paste when it's wet (white in the picture above) and dry - clear in the picture on the left is amazing!)

I had this silver furry ribbon in my stash, along with the beaded wire.  I glued the stars together, trapping the silver 'fur' in between the two layers, and then wound the excess round the rings.


I then wound the beaded wire over the top of the fur, which will hold the tinsel in place, and also used it to create a hanging loop at the top.

The smaller stars hanging from the bottom had the same treatment, but with slightly different colours.  When dry, they were glued together, trapping the end of the tinsel in between.

One (large) post-modern dream catcher!  (or a Christmas decoration, perhaps)

Hope you like!


Resources

Substrate
Tando Creative chipboard sheets
Metal rings

Dies
Sizzix Originals: Stars#2 654995
Sizzix Alterations Bigz: Star Bright 3D 658265
Sizzix Big Shot Pro

Paint and ink
IndigoBlu English Cottage Acrylic paint: Grandma's Teacup, Park Lane
Adirondack Paint Dabber: Silver

Bling and Other Stuff
Crafters Workshop Mask: 12x12 Punchinella
Dreamweavers embossing paste: Translucent
Luminarte Primary Elements: Majestic, Wisteria
Cosmic Shimmers Mica pigments: Silver
Perfect Pearls Mist: Interference Red

Tuesday, 10 September 2013

We are Family - Tando Creative

Well, it's week two of my month as Guest Designer for Tando Creative!  This challenge got me trying to recall origami, that my dad taught me!  I saw the Hexagonal Laminate and Board pack, and knew I wanted to use it, but not as a mini book.  Most people would use photos of their family, but a) my family doesn't do photos, and b) they aren't very photogenic (!), and c) would I want to carry around a bunch of photos of those reprobates anyway!  However, I do like a drink (or two), so...


Starting with the board pack.  I wanted to create a hinged cover, so painting it wouldn't work.  I drew out a pattern in rough paper to check it would work, then when I was happy, I used the pattern to cut out some fancy paper for the outside cover. I glued the board hexagons inside, and waited for the glue to dry.

When it was dry, I swooshed a little acrylic paint in the centre of the outside back and front, so I would be able to create a halo effect.  I supplemented this with some nice dark ink around the edges.

This time I remembered to use my anti-static bag!  I stamped and heat embossed the front.  I used my crop-o-dile to attach the fasteners and trap the ribbons, so I would be able to tie it shut.  I taped over the back rough edges of the eyelet, and then glued down the inside covers - slightly smaller than the boards, and used red line tape to create a small gusset - just enough give to take some inserts.  I added the Wicked Witch on the inside...

So the cold laminating pouches.  If not photos going inside, then what?  I used some more paper from the set which had conveniently sized playing cards!  Perfect!  But boring...  so I cut rectangles from double side glue sheets, and covered one side in gilding flakes.  I placed the 'playing card' on the other side, and dived into the gilding flakes again, so that both sides were completely covered.  This  became my insert for the laminating pouch.  I used a brayer to make sure of no air bubbles.  Did this for each of the pouches, using a different image, which do sort of represent my family - ish.  Not sure how my nephews will take being likened to the Flying Monkeys!!


I gilded one more 'playing card' for the back cover, and hey presto, a holder for 6 matching coasters, themed for The Wizard of Oz!


Hope you like!

Resources

Substrate:  Tando Creative Board/Laminate Mini Book
Graphic 45: The Magic of Oz papers, 6x6 and 12x12

Paint and Ink
Paper Artsy: Nougat
Distress Ink: Evergreen Bough
Versafine: Satin Red

Stamps
Hampton Art (Graphic 45): The Magic of Oz (2) IC0121

Bling and other stuff
WRMK: Designer Eyelets and snaps: Family
Stix2 - Magic Sheets
IndigoBlu Mega flake: Gin and Tonic, Lancashire Rose, Royal Peacock
Crafty Notions gilding flakes: Copper Thunder
Gold ribbon from stash
Stampendous embossing powder: Detail clear
Funstamps: Holographic embossing powder

Wednesday, 4 September 2013

Let's Leaf it - Tando Creative

This month's challenge from Tando is Let's Leaf It.  So many things went through my mind, and I think most of them went on this project!

Hmm, Leaf, Leaves - leaves of a book?  Aha!  Printers' tray, then, the kind with the cover (another leaf).  I painted the cover in green and, once I had glued the 3 layers of the top part, that got painted in brown.


I covered the base with pages from several books, and stamped and embossed some more leaves, to keep with the theme.  I smeared Inka gold over the frame, as you can never have enough bling, and I thought the plain brown just a bit too dense.


I had some hessian type material, which I frayed.  I smeared the centre of the panel with the same green paint, and set aside to dry.  Then I stamped one of the same leaves in a brown, and adhered it to the outer front cover.


I have had skeleton leaves in the drawer FOREVER - from before I even knew what card making was.  Here was a chance to use them!  I covered two of them in Perfect Medium, and then heat embossed both.  And they were glued to the inside cover.  The photo doesn't do their blingy-ness justice!


I had three matching vials of different sizes.  So I mixed up some sequins and beads, for the big one, just beads for the little one, and dripped alcohol ink into the medium one.


Back to the tray.  I found some trinkets that seemed to fit.  Acorns, apples and dragonflies.  The acorns and the dragon flies got 'touched' with the inka gold, along with the blossom bucket leaf.
Then it was just a case of sticking it together.  Hey presto!


Hope you like!


Resources

Substrate: Tando Creative Mini Printer Tray with cover (MPT152x152CV)

Paint and Ink
Paper Artsy: Hey Pesto
IndigoBlu: Hot Cocoa
Distress Ink: Fired Brisk, Bundled Sage, Crushed Olive, Gathered Twigs, Vintage Photo
Adirondack Alcohol Ink: Willow, Meadow, Gold
Inka Gold: Lava Grun, Stahl Blau
Perfect Medium

Stamps
Stampin' Up: 3 leaves and acorns (sorry, don't have the number - the first set of Stampin' Up I bought!)

Bling and other stuff
Leaves, trinkets, beads, from stash
Stewart Gill Embossing powder: Patina Bronze, Interference Silver
Stampendous Embossing Powder: Detail Clear
Studio 490 (Blossom Bucket) Leaf
Glass bottles
Maya Road Leaf headed pins

Tuesday, 3 September 2013

Orange, Red and Yellow - Tando Creative

I am honoured to have been asked to create some items for Tando this month.  It's my first time as a designer for someone, so please, I'd be grateful for any feedback!

So this week's theme is Orange, Red And Yellow.  Immediately I saw this, I had a vision of a Russian icon...a triptych, if you will! 

I started with the Triple Arch Layered Frame, but I wanted to make it more dimensional.  Instead of layering the three cut-outs on top each other and on top of the base, I wanted to layer one cut-out on each side of the base, and create a pair of buttresses so it could be freestanding. I used a couple of the inner arches, cutting them in half.


I scraped modelling paste through a mask over the cut-outs, and set aside to dry.

Everything was then painted, both sides with DecoArt paint, using light buttermilk, Quinacridone Gold and Transparent Red Iron Oxide. 


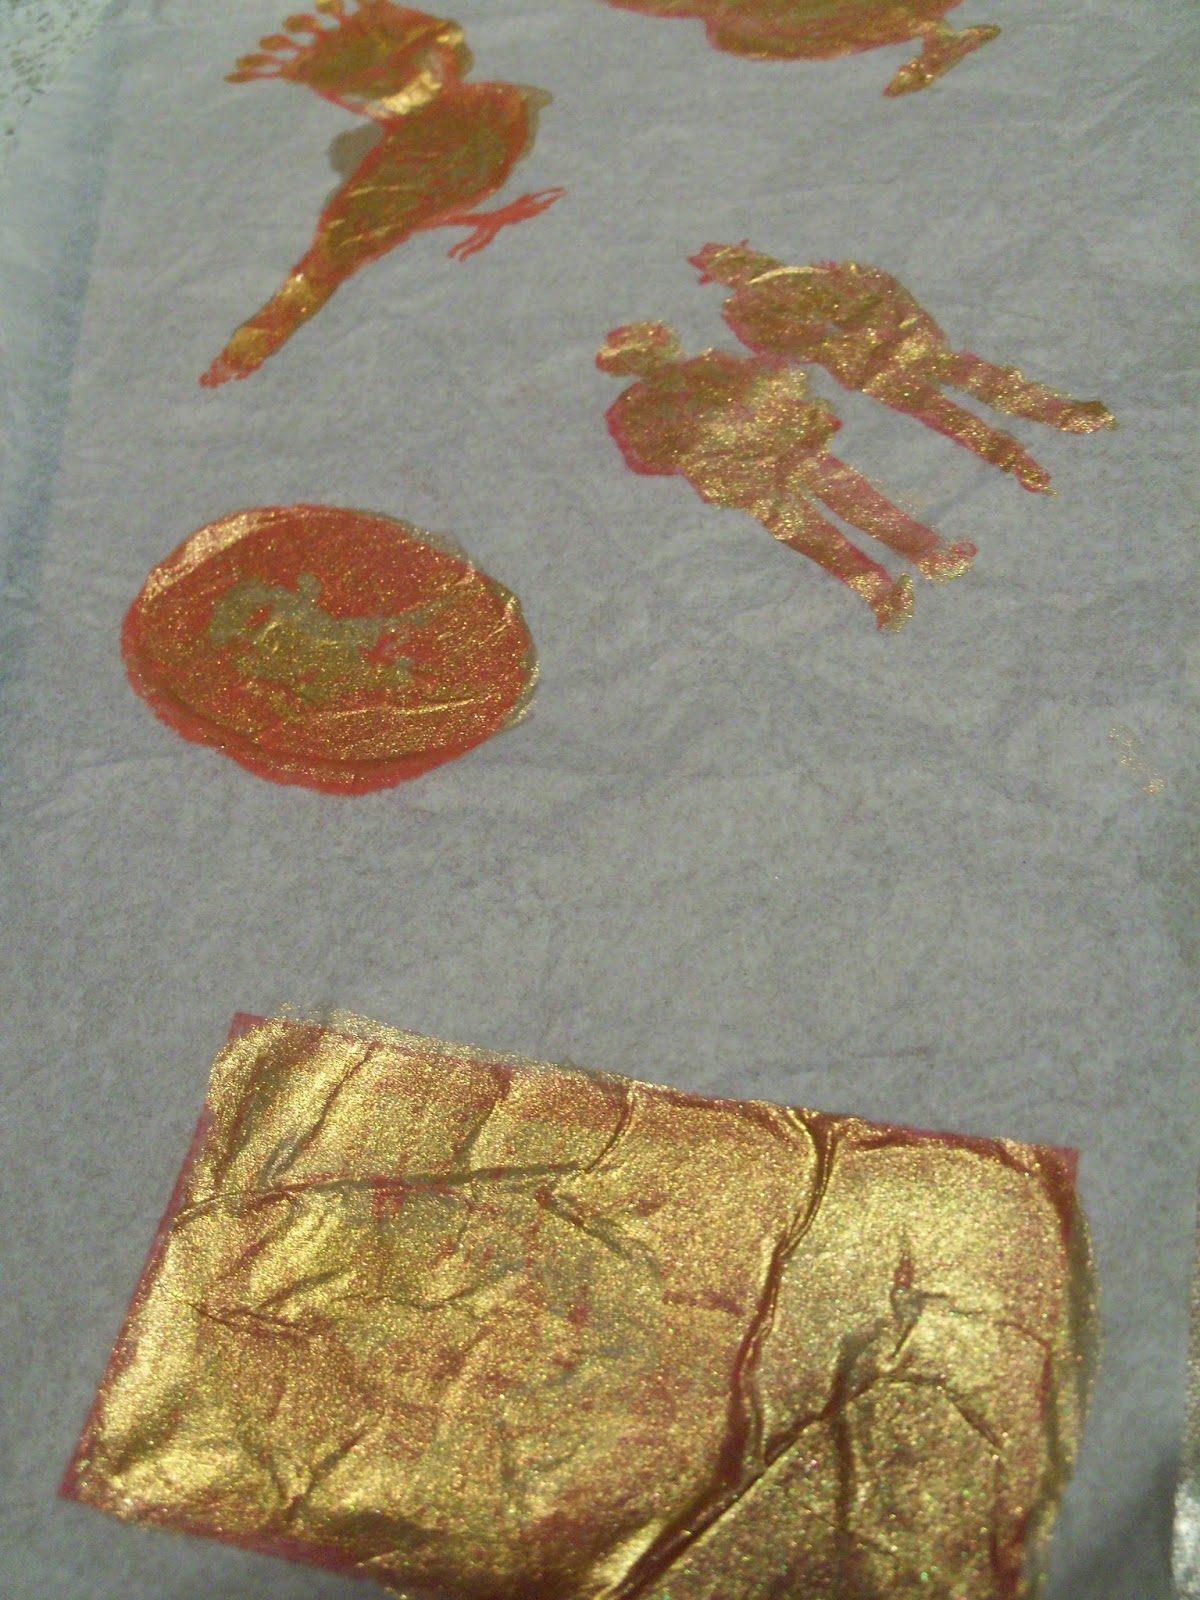
While it was drying I stamped my images onto tissue paper using Versafine ink.  Then that was dry, I painted the back of the images with cosmic shimmer watercolour paint in Rich Gold.


 When everything was dry, I stuck the tissue paper images down, and then glued the arch cutout over the top on one side.  I clamped it and went off to do something else.  When it was dry, I turned it over, and did the other side.  When THAT side was dry, I added the words (from Tim's chitchat stickers) and painted some persimmon H2O over the top of the whole thing, and glued my buttresses in place.  I used Inka gold on the edges and the modelling paste, then I lightly added some midnight gilding wax, to age it a little.  Here is the finished article!


Side 1


Side 2


Edgeways on, for the effect of the buttresses!


Resources

Substrate
Tando Creative - Triple Arch Layered Frame

Paint and Ink
DecoArt Americana: Light Buttermilk
DecoArt Traditions: Transparent Red Iron Oxide, Quin Gold
Versafine: Habanero, Satin Red

Stamps
PaperArtsy: Ancestors Plate 3 (ANC3), Ancestors Plate 1 (ANC1), Clockwork Birds (HP1107EZ), Enjoy the Good things (HP1206EZ)
Darkroom Door: Art De Fleur Vol 2

Bling and Other Stuff
Inka Gold: Gold  (there are other colours!!)
Creative Expressions Gilding Wax: Midnight
Luminarte H2Os: Persimmon
Cosmic Shimmer Watercolour Paint: Rich Gold
DecoArt: Modelling Paste, Faux Finishing Medium
Crafters Workshop: Mini Tile Texture
Tim Holtz Idea-ology: Chitchat stickers